How to create ER Diagram of an existing database using MySQL Workbench
The following step-by-step guide will help you create an ER Diagram of an existing database using MySQL Workbench easily.
Step 1:
Open MySQL Workbench and click on Database (or press Ctrl+R to skip the first two steps).
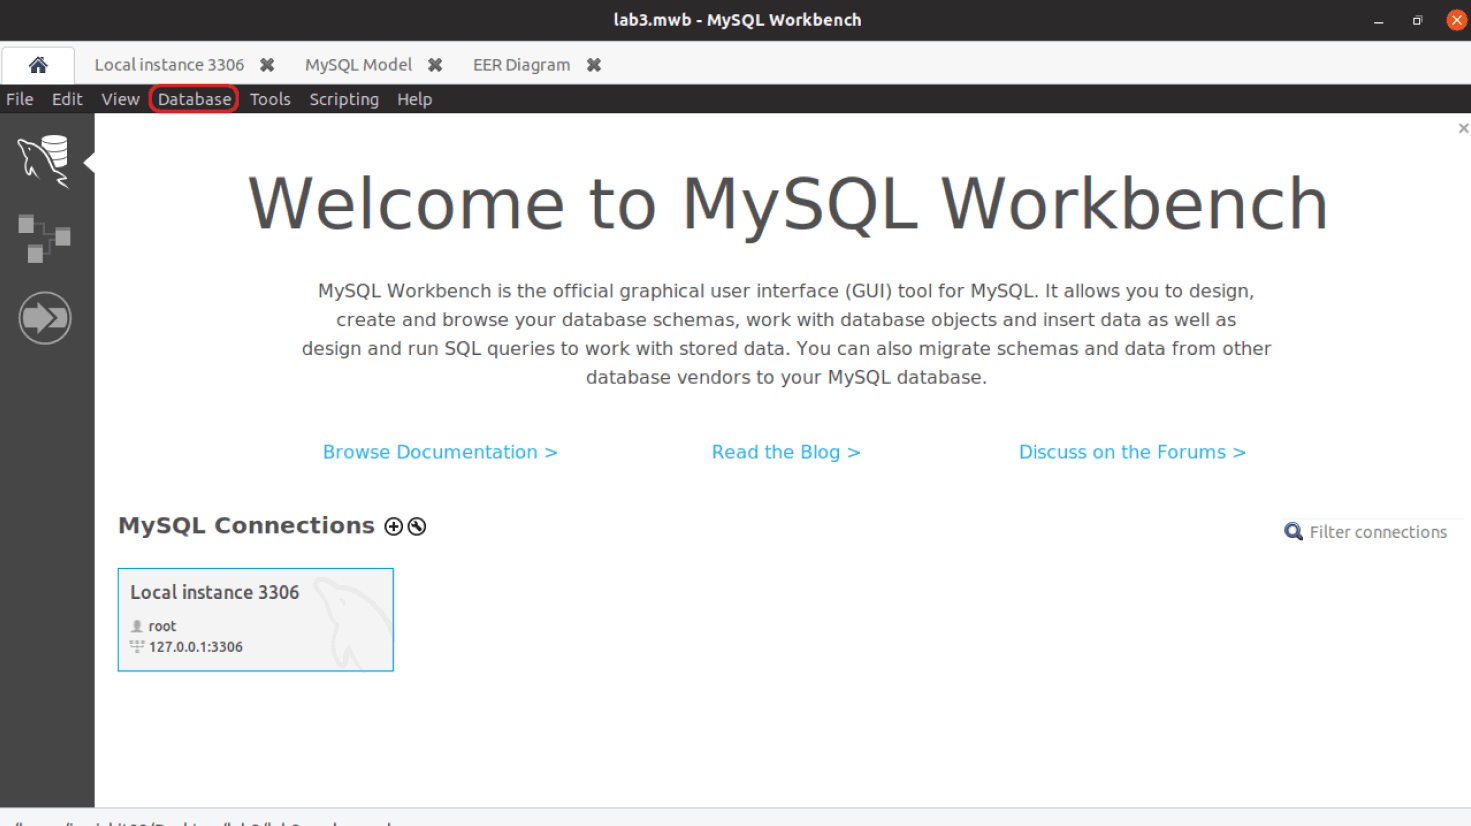
Step 1: Click on Database
Step 2:
Click on Reverse Engineer…
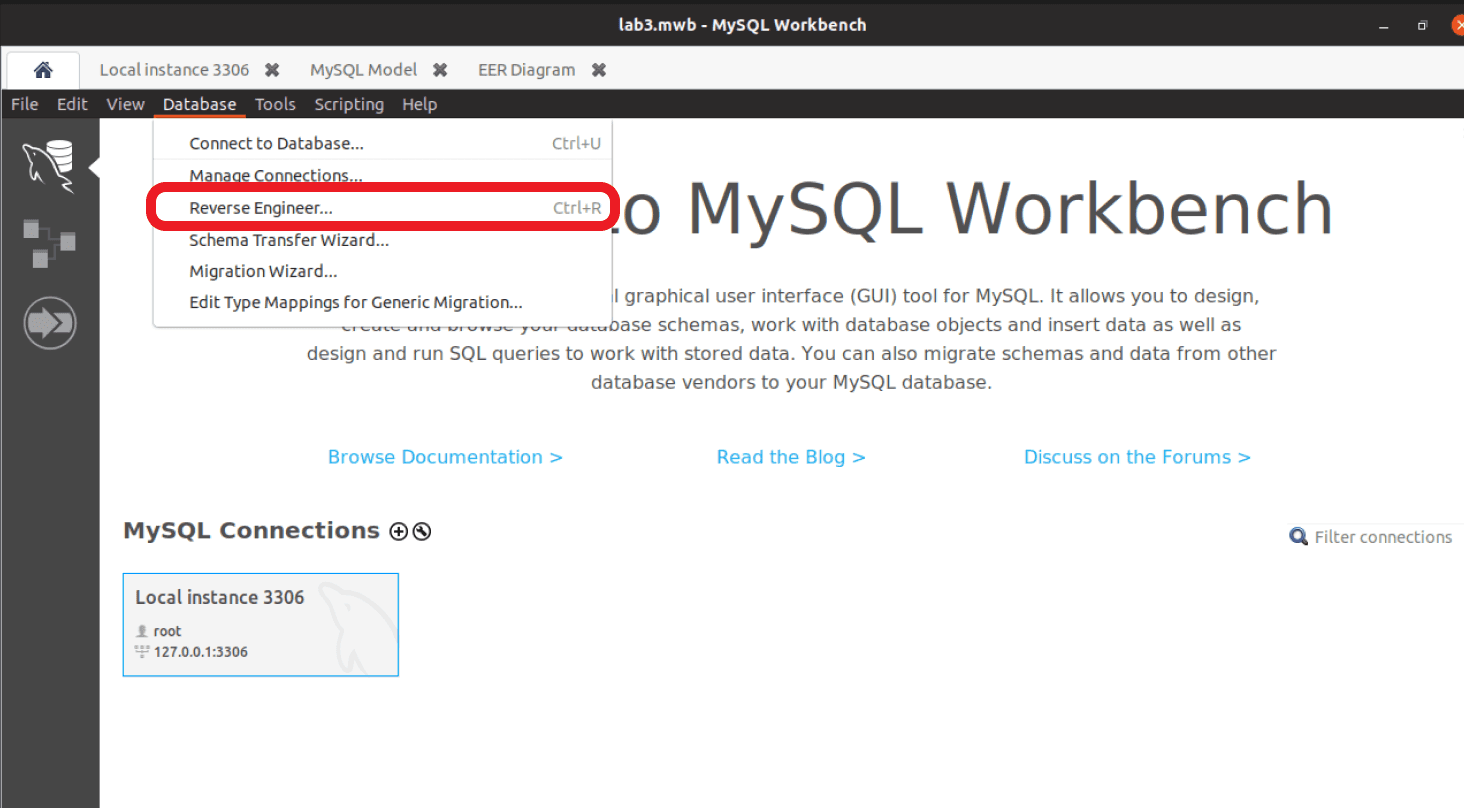
Step 2: Reverse Engineer
Step 3:
Select your database connection and click on Next.
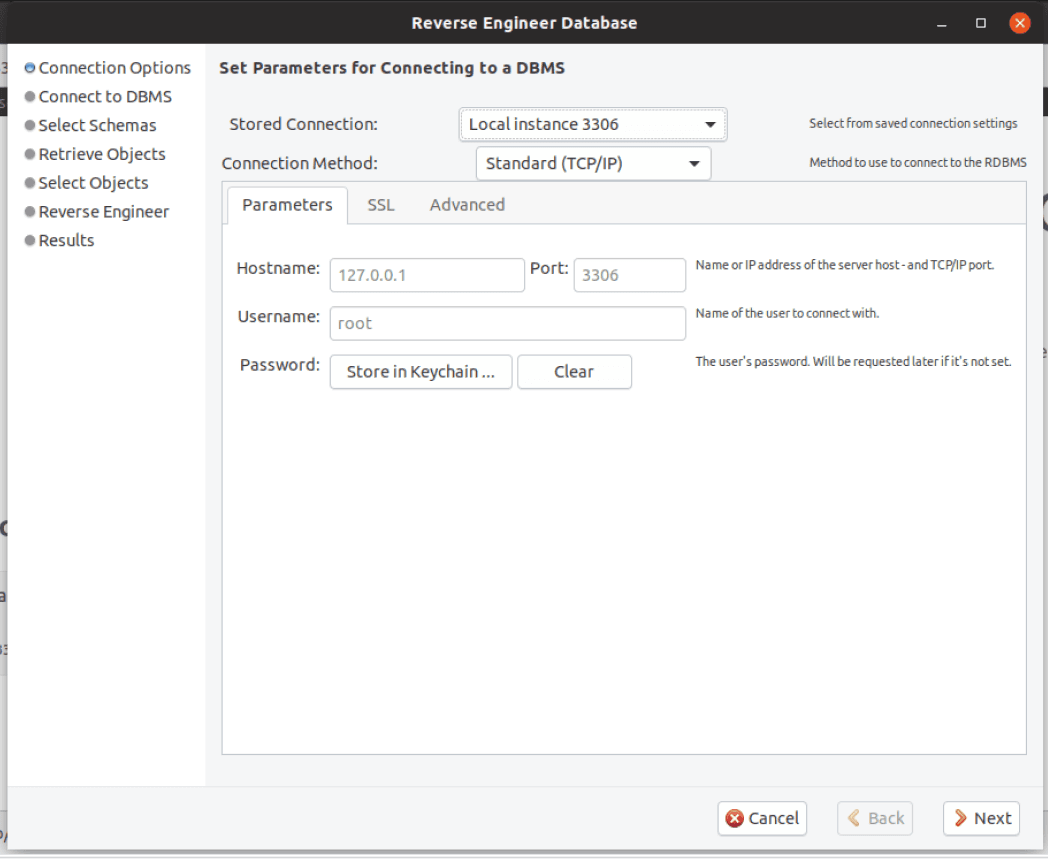
Step 3: Select Database Connection
Step 4:
Click on Next when you see 'fetch finished.'
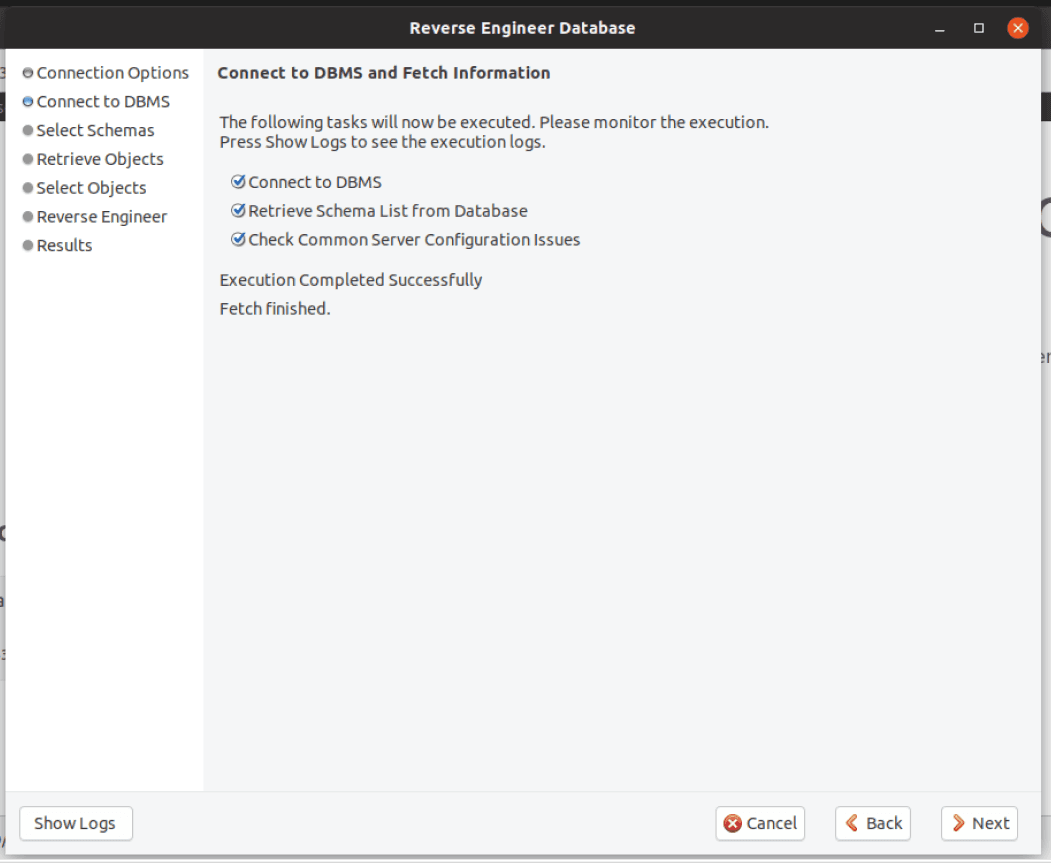
Step 4: Fetch Finished
Step 5:
Select the database schema for which you want to create the ER diagram, then click on Next. (You can select multiple databases.)
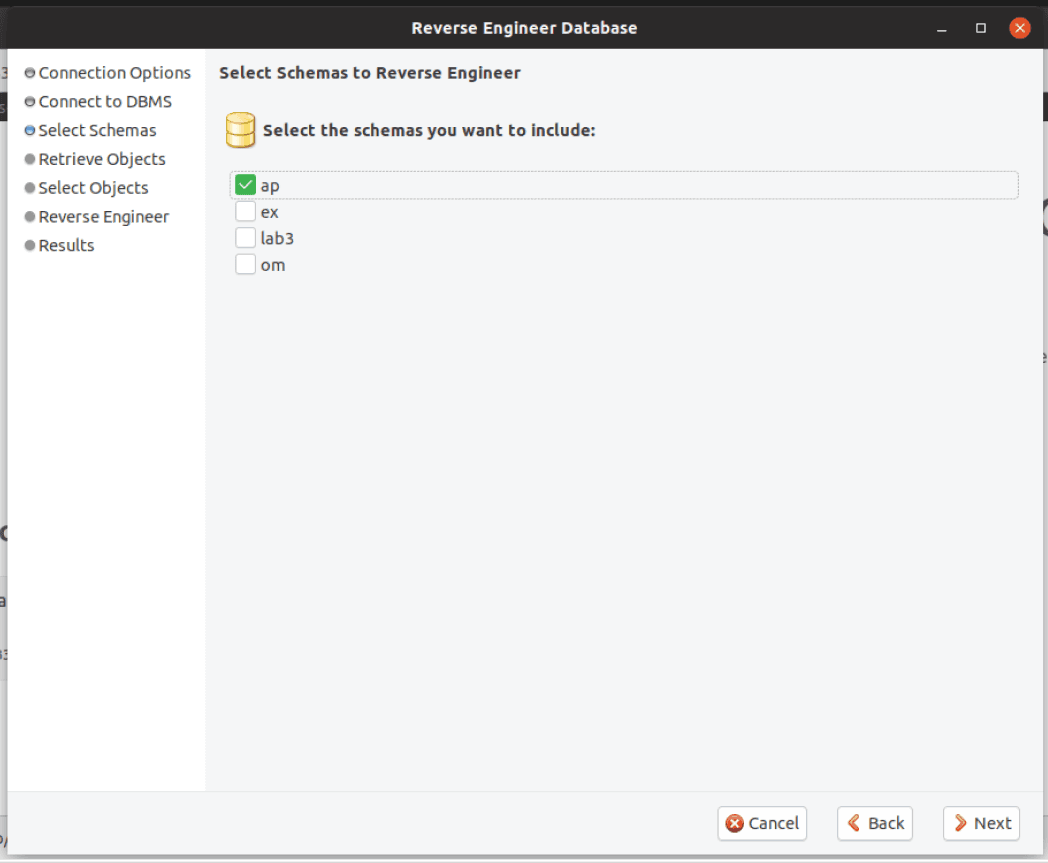
Step 5: Select Database Schema
Step 6:
Now, it will retrieve objects from the selected database. After the blue ticks appear, and you see 'Finished,' click on Next.
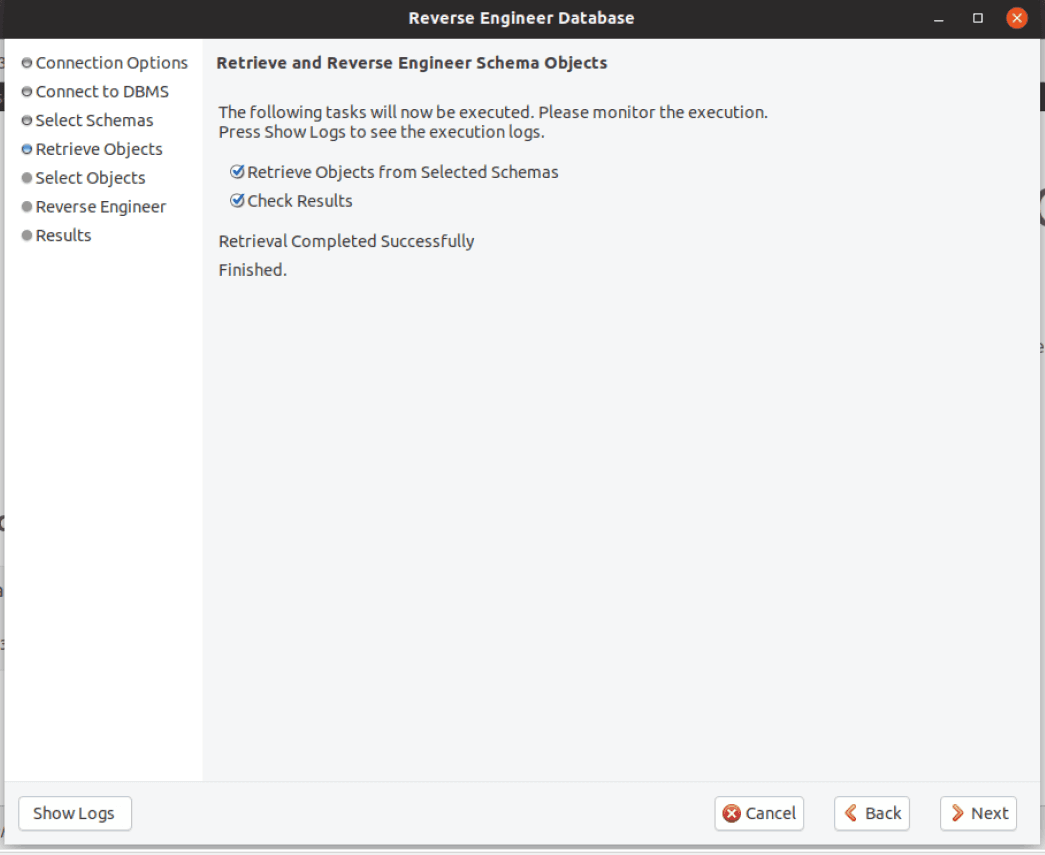
Step 6: Retrieve Objects
Step 7:
Select MySQL table objects to reverse engineer. After selecting objects, click on Execute. (Ensure the checkbox labeled 'Place imported objects on a diagram' is checked.)
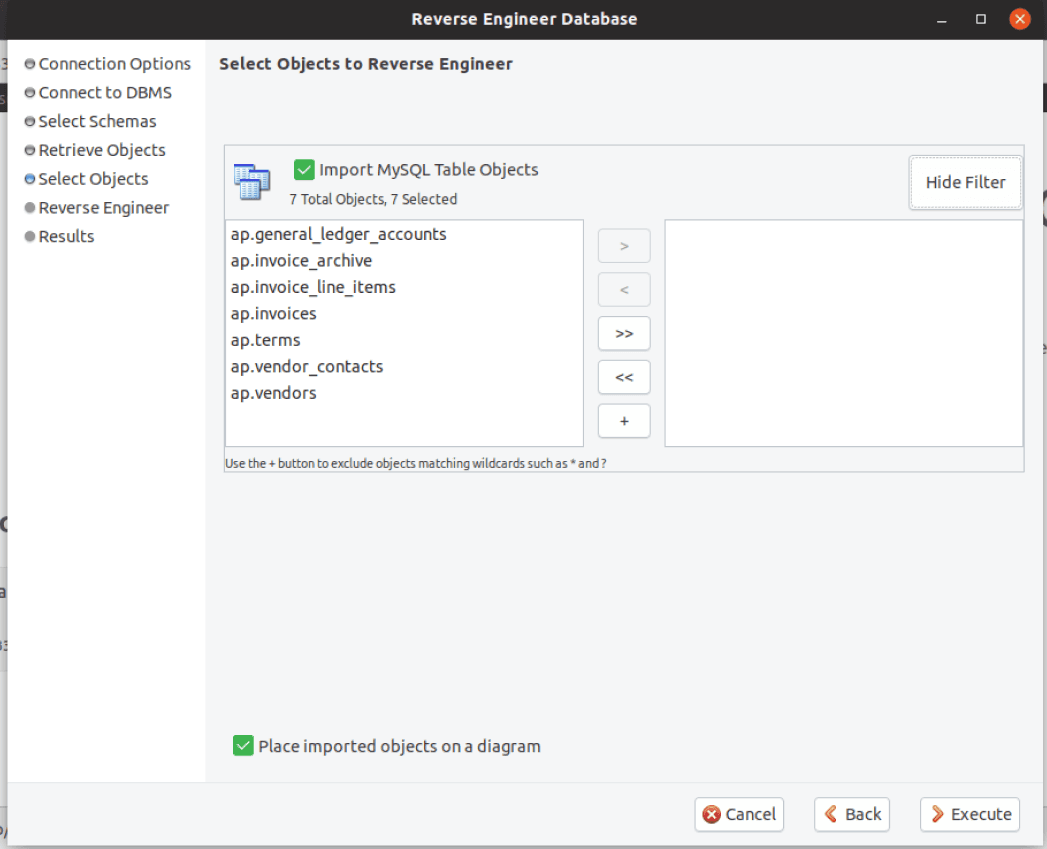
Step 7: Select Table Objects
Step 8:
Now click on Next.
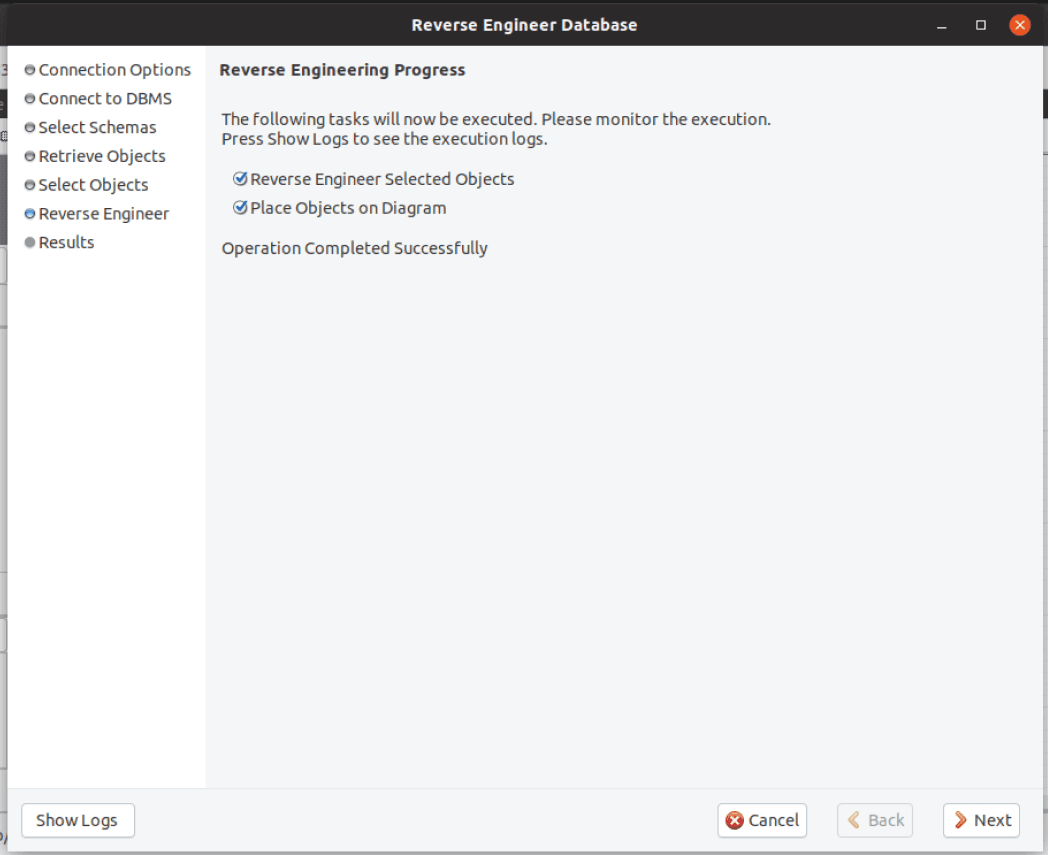
Step 8: Click Next
Step 9:
Click on Close.
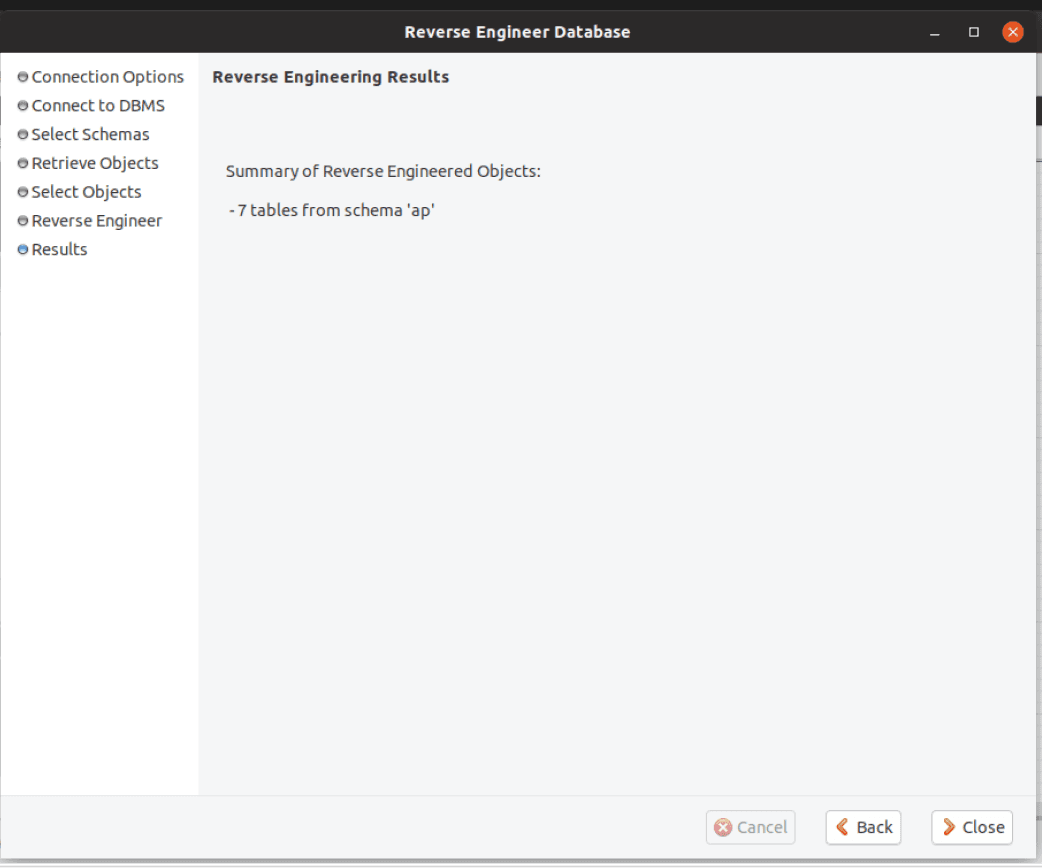
Step 9: Click Close
Step 10:
You will now see the ER Diagram of the selected database.
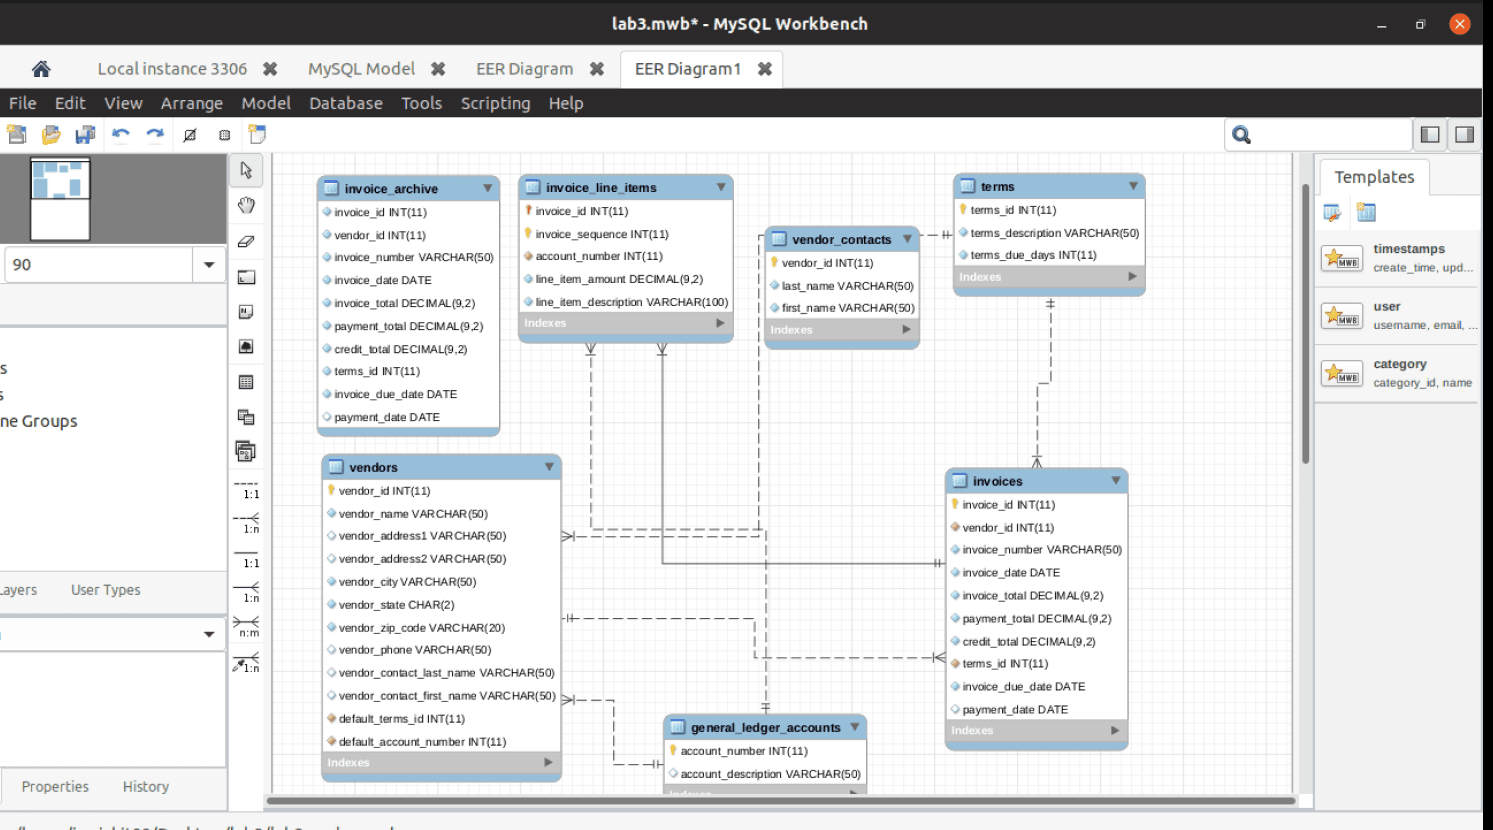
Step 10: ER Diagram
I hope you find this tutorial helpful. If you have any suggestions or need assistance, feel free to comment below.